Timelapse Photography – How-to – Canon 7D DSLR and a Candle
January 3, 2013
Yesterday, I spent about two hours taking photographs in an effort to create a timelapse video of a candle burning. In all, I took about 300 photos and then put them all together at .1 of a second so viewers can watch the film and enjoy the motion.
Here are the steps I took and the materials I used. Options are in [brackets] if you don’t have similar gadgets on hand.
Tripod
DSLR [I used a Canon 7D, but you can use any camera that has a feature that lets it take a timed or remote-controlled photo]
Candles
A match
Two or more hours
I set the camera up on the tripod and set the ISO at 100, set the white balance (as I was inside) to fluorescent light, and left the in-camera settings to AV. AV on my camera allows the camera to choose the shutter speed when the f-stop is kept the same. On some automatic point and shoots, you might have issues, but lots of newer models allow you much more flexibility in shooting settings.
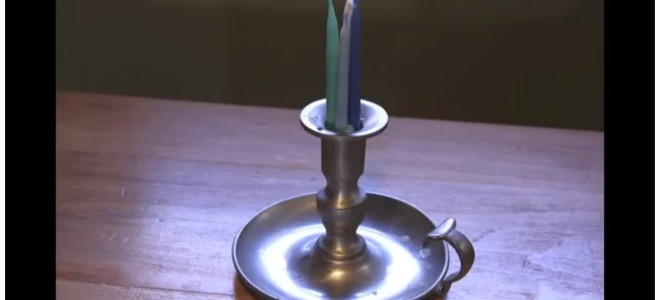
I put the candles in a candleholder on the table and then focused on the group of four unlit candles. Then I got out the remote control, set the camera on manual focus and shut off the lens’ image stabilization (on a tripod you don’t need it…and it could work against the camera).
Then I took a bunch of photos at intervals, trying to keep the time between shots at about 30-45-seconds. Once the candles were out I loaded the images into iMovie and then set the image time to .1 seconds. Then I exported the video and uploaded it to YouTube.
I welcome your comments and links to your attempts. Here’s what my finished video looked like…